Shipping Set Up
Configure your store locations, shipping regions, delivery providers, rates and delivery-time information in one place.
Shipping settings help you define where orders are dispatched from, where you deliver, how orders are shipped and what customers can expect at checkout.
Set Up Your Shipping
From the Merchant Dashboard, go to Settings → Shipping. Idiocom provides five sections to complete your shipping setup:
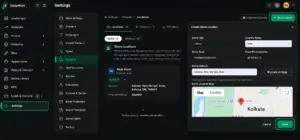
1. Add Your Store Location
Click Locations → Add Location. Enter your store or warehouse details, including the store name, country, email, phone number, address and location on the map. Then click Save.
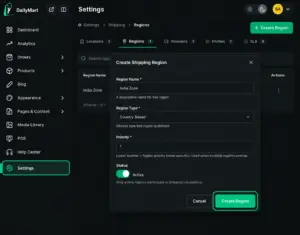
2. Create a Shipping Region
Go to Regions → Create Region. Enter the Region Name, select the appropriate Region Type, set the priority and keep the status active. Then click Create Region.
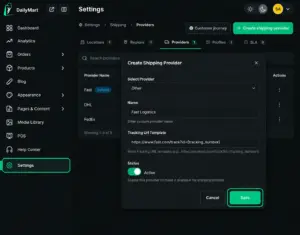
3. Add a Shipping Provider
Next, go to Providers → Create Shipping Provider. Select your provider, enter the provider name and tracking URL template if required. Keep the provider active and click Save.
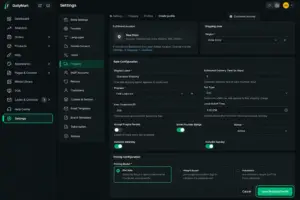
4. Create a Shipping Profile
Go to Profiles → Create Profile. Select the fulfilment location and shipping region, then configure the delivery label, estimated delivery time, provider, tax type and pricing model. Add the required pricing tier and click Save Shipping Profile.
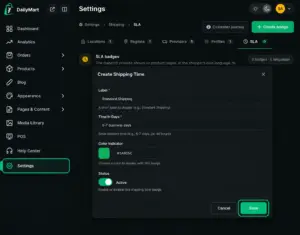
5. Set Up an SLA
Finally, go to SLA → Create Badge. Add a shipping label and delivery time information, set the status to active and click Save. This information can be used to show delivery expectations to customers on product pages.
Quick Steps
- 1 Settings → Shipping
- 2 Add a Store Location
- 3 Create a Shipping Region
- 4 Add a Shipping Provider
- 5 Create a Shipping Profile
- 6 Set Up an SLA
- 7 Save each configuration